RX 78 HMG

Here we go with another RX 78-2 Revive! It could have been tedious to work on the same kit one after the other, but the customizations were different enough that it almost felt like a different kit all together. Plus it was nice being more familiar with everything. So how did it go? Check out the pics and find out! :) Oh, wait! First, a little fiction about how this mobile suit came about:
"The RX 78-2 High Maneuverability Gundam (or HMG) was repurposed from a well rounded mid to close range fighter to a close range melee fighter. This was done by adding small wings on the shoulders to make the HMG more aerodynamic, replacing the wast armor pieces with smaller and lighter armor pieces, and by replacing the regular backpack with a GN Drive enabled unit. This GN drive unit uses 2 unique rectangular thrusters combined with the housings to direct thrust in a variety of ways that allows the mobile suit to not only travel long distances in shorter amounts of time, but also maneuver more quickly. When traveling at full speed, the HMG can close the distance between the edge of an enemy's sensor array range and its location before the enemy pilots reflexes have a chance to react. This ability combined with the GN Sword means that an enemy pilot can find their mobile suit incapacitated before they realize the HMG is on the battle field. This is the primary tactical purpose of the HMG, and for that reason it is not equipped with any long range weapons, such as rifles or cannons."

I used the waist armor pieces from the HG Exia. Had to do some modification to make it fit. Cutting plastic is fun!

I pulled a part from a weapons option kit and cut it to be a connector for the rear waist armor.

All together now! The front skirts looked great, but they were super loose so I had to thicken the joints up with glue. That wasn't enough so I slathered the ball joints with putty and viola!

There was a big slot in the centerpiece for the backpack I didn't like, so the putty came out again! The first application sunk in when it dried so I had to apply it again, then sand it down smooth.

Here are the backs of the pieces I put on the knees. A little putty to fill in the indent will do!

This is a mod I did for both kits. I wanted to paint the face pieces separately and remove the seam line down the middle of the head.

In order to make the face removable, I cut the top of the red piece so it could slide in and out of the head once it was glued together. This allowed me to glue the 2 halves of the head together, remove the seam line then slide the face pieces into place.


Here it is all together (mostly) before paint!
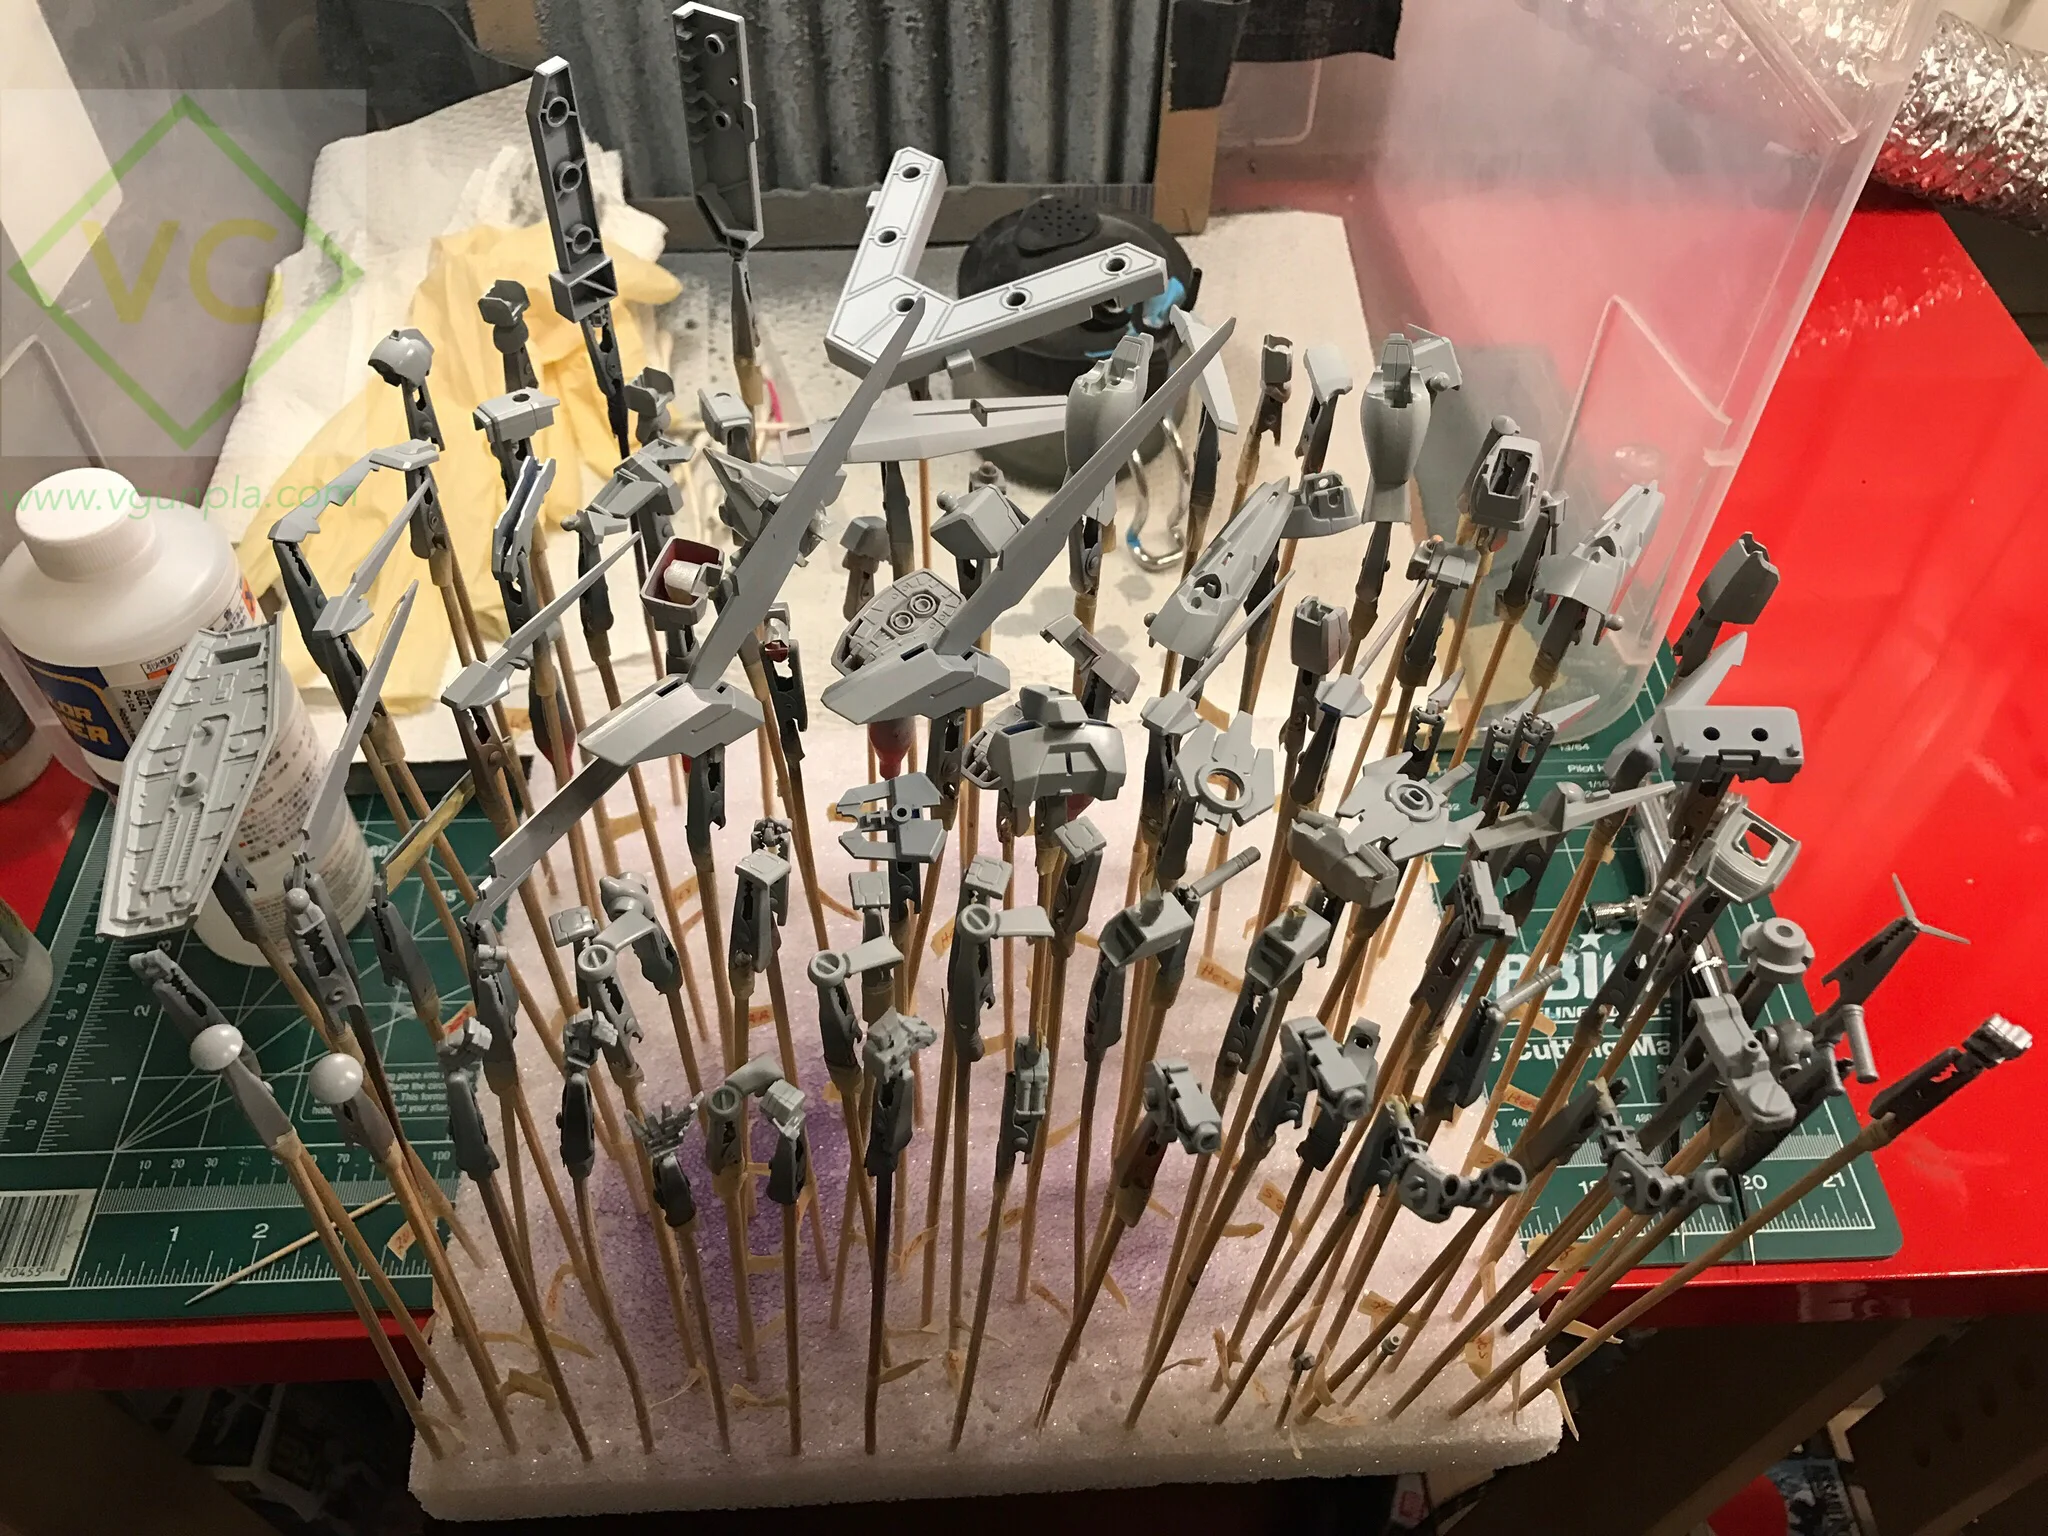
Primer!

Metallic green!

Other colors! The red is a custom mix of fluorescent pink, pink and red. The orange is a custom mix of fluorescent orange and regular orange. I wanted the colors to turn out brighter, but I'm happy with the results. I think a different color primer would have given me more of the glow I was looking for. More experimentation next time!

Yes! The legs are my favorite part of this kit. I really like how the hexagons came out here. The gold was a last minute decision and it paid dividends!

All packed up and ready to ship to my brother in-law in Utah!
Hope you enjoyed the pics, tomorrow will be the last post in the RX series, and it'll be the final pics for the RX HMG. It came out waaaay nice, and I can't wait to share the results! Until next time (thats tomorrow!) keep on building!